How to Build a Content + Social Media Workflow
Build a content and social media workflow that saves time and grows your blog — content calendar, repurposing, batching, scheduling tools, and metrics.
Most bloggers treat content creation and social media promotion as two separate activities. They write a post, publish it, then scramble to share it across platforms before moving on to the next piece. This reactive approach wastes time and leaves reach on the table. A documented workflow changes both problems.
A workflow is simply a repeatable sequence of steps. When you have one, you stop making decisions from scratch each time. You know what you are writing next, when it publishes, which social formats it becomes, and when those get scheduled. The result is a calmer week and more consistent output.
Step 1 — Build a Content Calendar
A content calendar is the backbone of any workflow. At minimum it should record:
- Post title and target keyword — so you can see coverage across topics at a glance
- Publish date — gives you a deadline that structures the week
- Status — Draft / In Review / Scheduled / Published
- Social promotion dates — when each network will see the post
You do not need expensive software. A shared Google Sheet or a free Notion template works fine for solo bloggers and small teams. What matters is that one document is the single source of truth for what is coming and what is live.
Plan at least four weeks ahead. Two weeks gives you breathing room; four weeks lets you align content with seasonal topics, product launches, or events. A tool like Trello with a calendar power-up or HubSpot’s free editorial calendar template can make this more visual if spreadsheets feel flat.
Step 2 — Write Once, Repurpose Many Times
Every blog post contains more social content than most bloggers realize. A 1,500-word article can become:
- 3–5 quote cards pulled from strong sentences in the body
- A short Twitter/X thread summarizing the key points
- A LinkedIn post framing the topic for a professional audience
- A short-form video script walking through the main tips
- A Pinterest graphic with the headline and a supporting visual
The goal is not to repost the same text across every platform. Each network has its own tone and format. Instead, extract the core ideas and adapt them. A practical tip from Buffer’s content repurposing guide is to treat the long-form article as the “hub” and social posts as the “spokes” — each spoke drives traffic back to the hub.
Step 3 — Batch Your Work
Batching means grouping similar tasks together rather than switching between them throughout the day. Context-switching is expensive; every time you shift from writing to designing to scheduling, you pay a mental re-entry cost.
A practical batching schedule for a blogger publishing twice a week:
| Day | Focus |
|---|---|
| Monday | Research and outline two upcoming posts |
| Tuesday | Write draft #1 |
| Wednesday | Write draft #2; create social visuals for both |
| Thursday | Edit, add images, format both posts in WordPress |
| Friday | Schedule posts and all social content for the following week |
With this structure, you are never writing and promoting on the same day, which makes it easier to stay in one mental mode.

Step 4 — Choose Your Tools
The right tools reduce friction. You do not need every tool — pick one from each category and stick with it.
Content creation and storage
- Google Docs or Notion for drafts
- Canva for social graphics — the free plan covers most needs
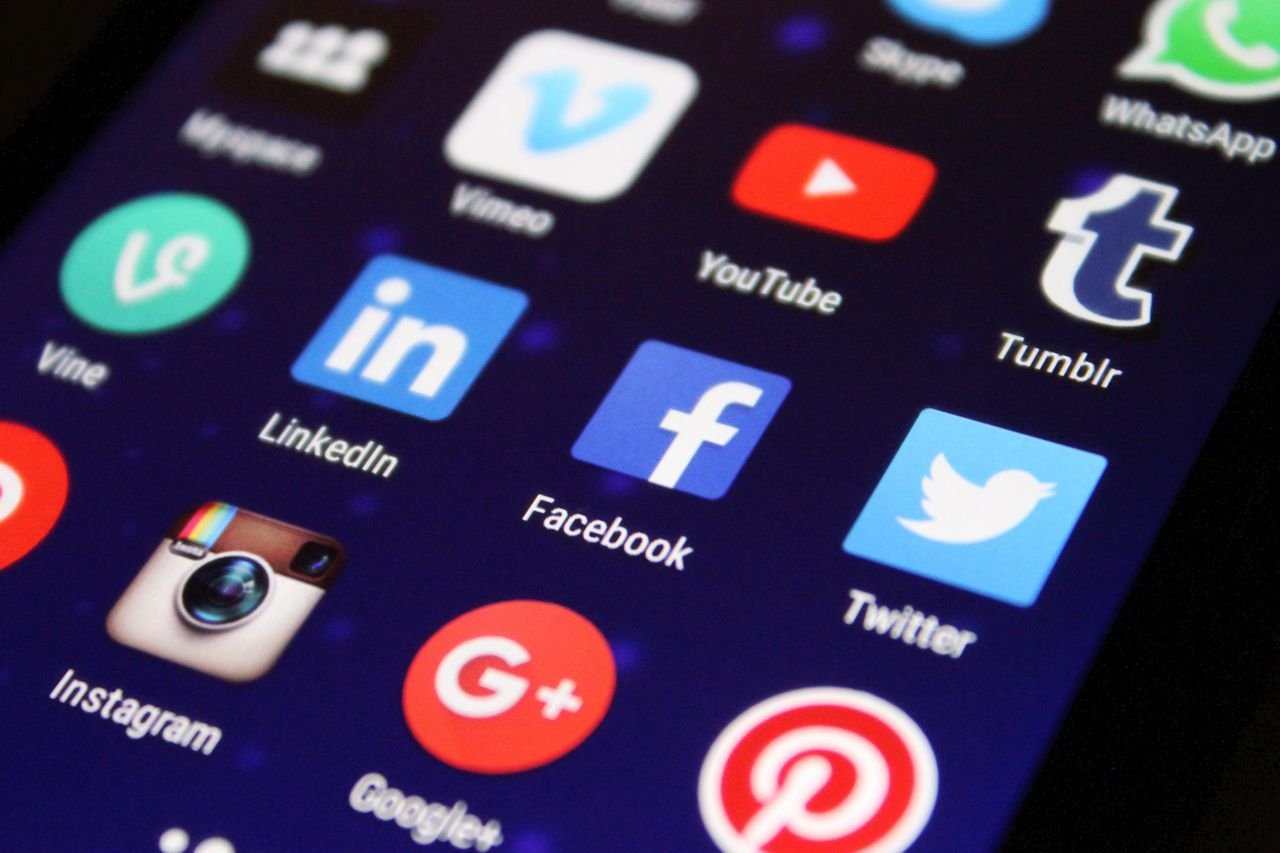
Scheduling Scheduling tools let you prepare a week’s worth of social posts in a single session. Buffer is a popular starting point for bloggers: it has a clean interface, a free tier covering three channels, and a browser extension for saving content ideas while you browse. Hootsuite and Later are strong alternatives, with Later being particularly well-suited for visual platforms like Instagram.
For more detail on picking and using a scheduling tool, see our dedicated guide on how to schedule social media for your blog and our comparison of the best social media scheduler plugins for WordPress.
WordPress automation Rather than manually posting every new article, a plugin like Jetpack Social or Revive Old Posts can automatically share new and evergreen content to your connected accounts. This is covered in detail in our guide on auto-sharing WordPress posts to social.
Analytics Use Sprout Social’s analytics resources or each platform’s native analytics to understand what performs. For your site itself, Google Analytics (GA4) shows which social channels actually send converting traffic.
Step 5 — Design a Posting Cadence
A cadence is how often you post on each network. There is no universal right answer, but consistency matters more than frequency. Posting three times a week reliably beats posting ten times one week and disappearing the next.
Realistic starting cadences for a solo blogger:
- Twitter/X: 1–2 times per day (short-form, low production cost)
- LinkedIn: 3–4 times per week (slightly more professional framing)
- Facebook Page: 4–5 times per week
- Instagram: 4–5 times per week (requires visual assets)
- Pinterest: 5–10 pins per week (highly batch-friendly)
Start conservative and increase only once you have the production workflow running smoothly. It is better to be consistent at a lower frequency than sporadic at a high one.
Step 6 — Recycle Evergreen Content
Not every social post needs to promote your latest article. Evergreen posts — tutorials, list posts, how-to guides — are worth re-promoting on a rolling basis. A plugin like Revive Old Posts (WordPress) or the “Re-Queue” feature in Buffer can automate this so older content keeps surfacing without manual effort.
Create a separate column in your content calendar for “evergreen rotation.” Once a post is tagged evergreen, it enters a queue to be re-shared every 60–90 days. Over time, this queue grows and provides a steady baseline of social activity even in weeks when you do not publish anything new.
Step 7 — Measure and Adjust
A workflow that does not include a review step becomes stale quickly. Build a monthly 30-minute review into your calendar to check:
- Which posts drove the most social traffic? (GA4 → Acquisition → Traffic Acquisition → filter by social)
- Which social posts got the most engagement? (use each platform’s native analytics or your scheduling tool’s dashboard)
- Is your content calendar fully populated for the next four weeks?
Use these answers to update your topic plan and adjust cadence. If LinkedIn consistently sends traffic but Twitter/X does not, shift effort accordingly. Hootsuite’s analytics guide is a useful reference for interpreting platform metrics without getting lost in vanity numbers.
A Sample Weekly Workflow
Here is a concrete example of what a week in this system looks like for a blogger publishing one post per week:
Sunday evening (20 min) Review content calendar. Confirm this week’s post is outlined and next week’s topic is chosen.
Monday–Wednesday Write, edit, and format the post in WordPress. Create two or three social graphics in Canva.
Thursday Schedule the post for Friday morning. Write social copy for each platform. Schedule the social posts to go out Friday through the following Tuesday (stagger them to spread reach over several days rather than all at once on publish day).
Friday Post publishes. Check that auto-posting via Jetpack fired correctly. Respond to any early comments or replies.
End of month (30 min) Review analytics. Update evergreen rotation queue. Adjust the next month’s calendar based on what worked.
Common Mistakes to Avoid
- Building the calendar but not following it. A calendar only works if you treat publish dates as real deadlines.
- Using too many tools. Each new tool adds login overhead. One scheduling platform, one design tool, one analytics source is enough to start.
- Ignoring the data. If you never check what performed, you will keep creating content that does not resonate.
- Treating every network identically. Paste the same caption everywhere and engagement drops on all of them. Adapt the message, even slightly, for each platform’s audience.
Conclusion
A content and social media workflow is not about being rigid — it is about removing the low-value decisions that eat your time so you can focus on creating useful content. Start with a simple calendar, a single scheduling tool, and a batching routine. Run it for 30 days, measure what happens, and refine from there.
If you want to save time by automating the WordPress-to-social piece specifically, Zapier and IFTTT offer no-code automation options that connect WordPress to dozens of social platforms, even if you are not using a dedicated plugin.
Sign up for our newsletter to get practical WordPress and content strategy tips delivered to your inbox each week.